Quick Guide: How To Upload A Location
Quick Guide: How to upload a location
Congratulations, you have probably purchased an account and now you're wondering how in the world to add your location. That's why we have created a simple user guide for you, especially if you're completely new to this. Feel free to print it out and keep it handy.
Important information will be highlighted in red bold style.
Preparations
-
We recommend using a computer.
-
Transfer your photos to your computer.
-
The photos must be in .jpg or jpeg format.
-
It's best if you have taken the photos in landscape format.
Let's get started.
Go to www.locamundo.com and log in with the credentials you chose when you registered.
If you have forgotten them, it's easy to recover them by clicking on the "forgot" button.
You will now be directed to the FIND A LOCATION page. Please note that it may look different, but the menu always remains the same.
Hover over "My locations". A menu will appear, and you click on "Add single location".

Step 1 "Add location images" page.
The function consists of 4 steps, which you can see at the top.
Click on "Add Files" in the bottom left corner.
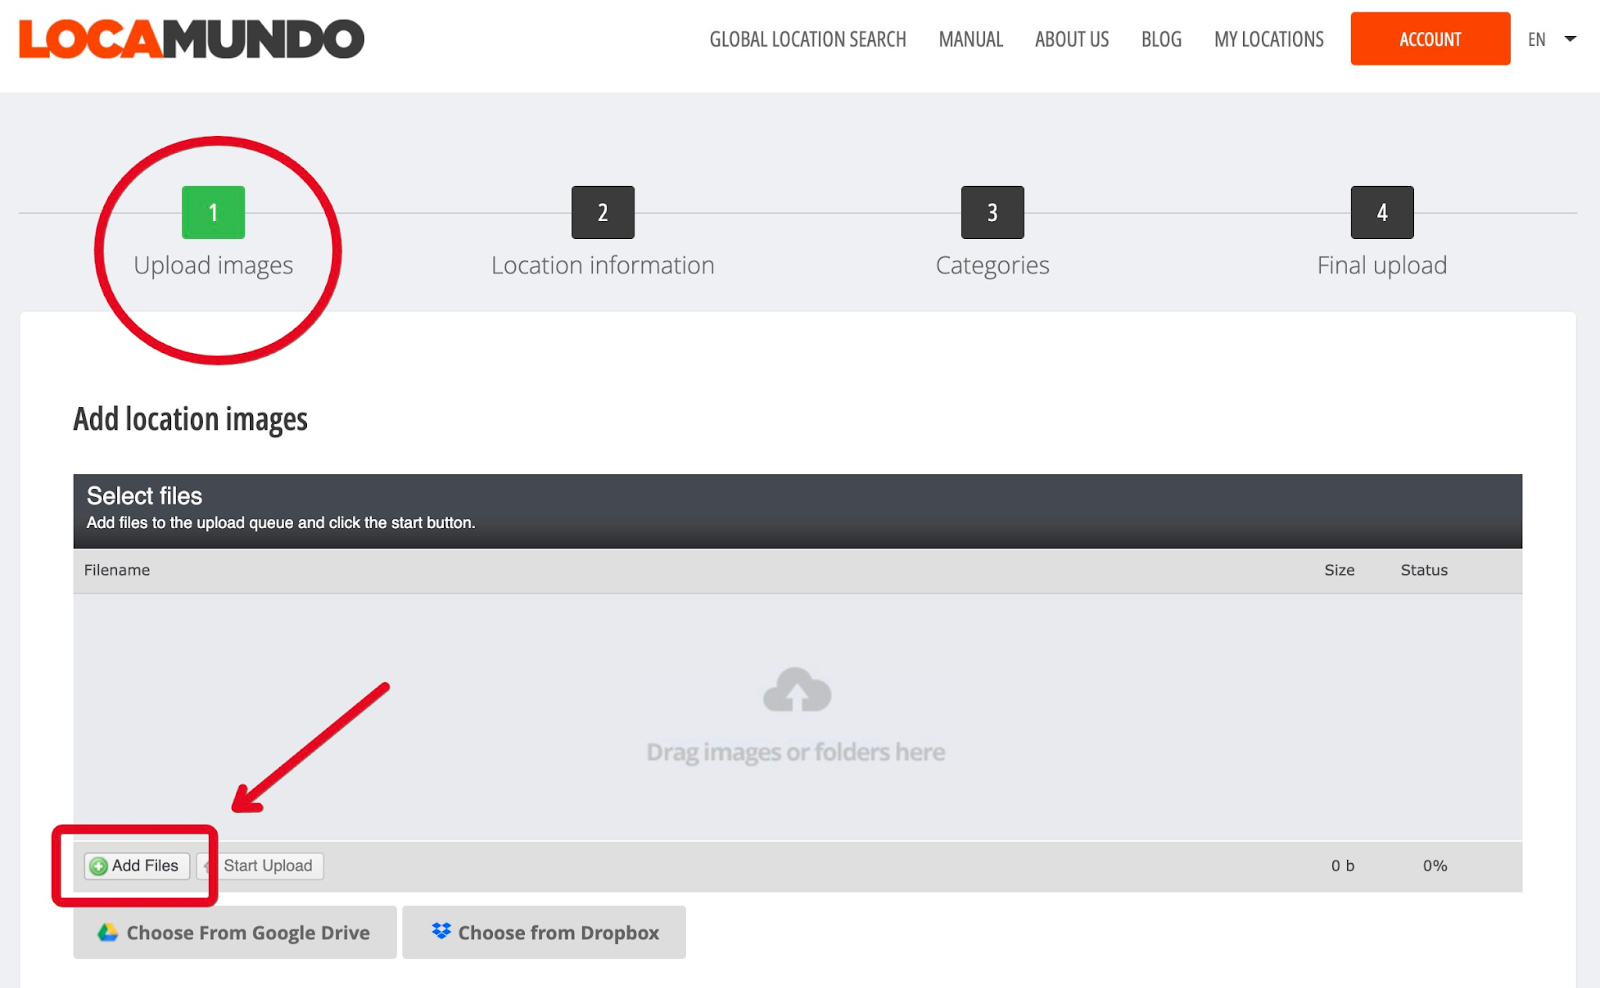
The next step may look different depending on your computer and operating system. But you will be taken to the location on your computer where your files are stored. Select the files/images that you want to upload. You can also select and drag the images to the uploader. Note: There is no limit to the number of images you can upload.
After selecting the images, you will see them in a list.
Click on "Start Upload" to begin uploading the images.
You won't be able to perform other tasks in Locamundo while your images are being uploaded.

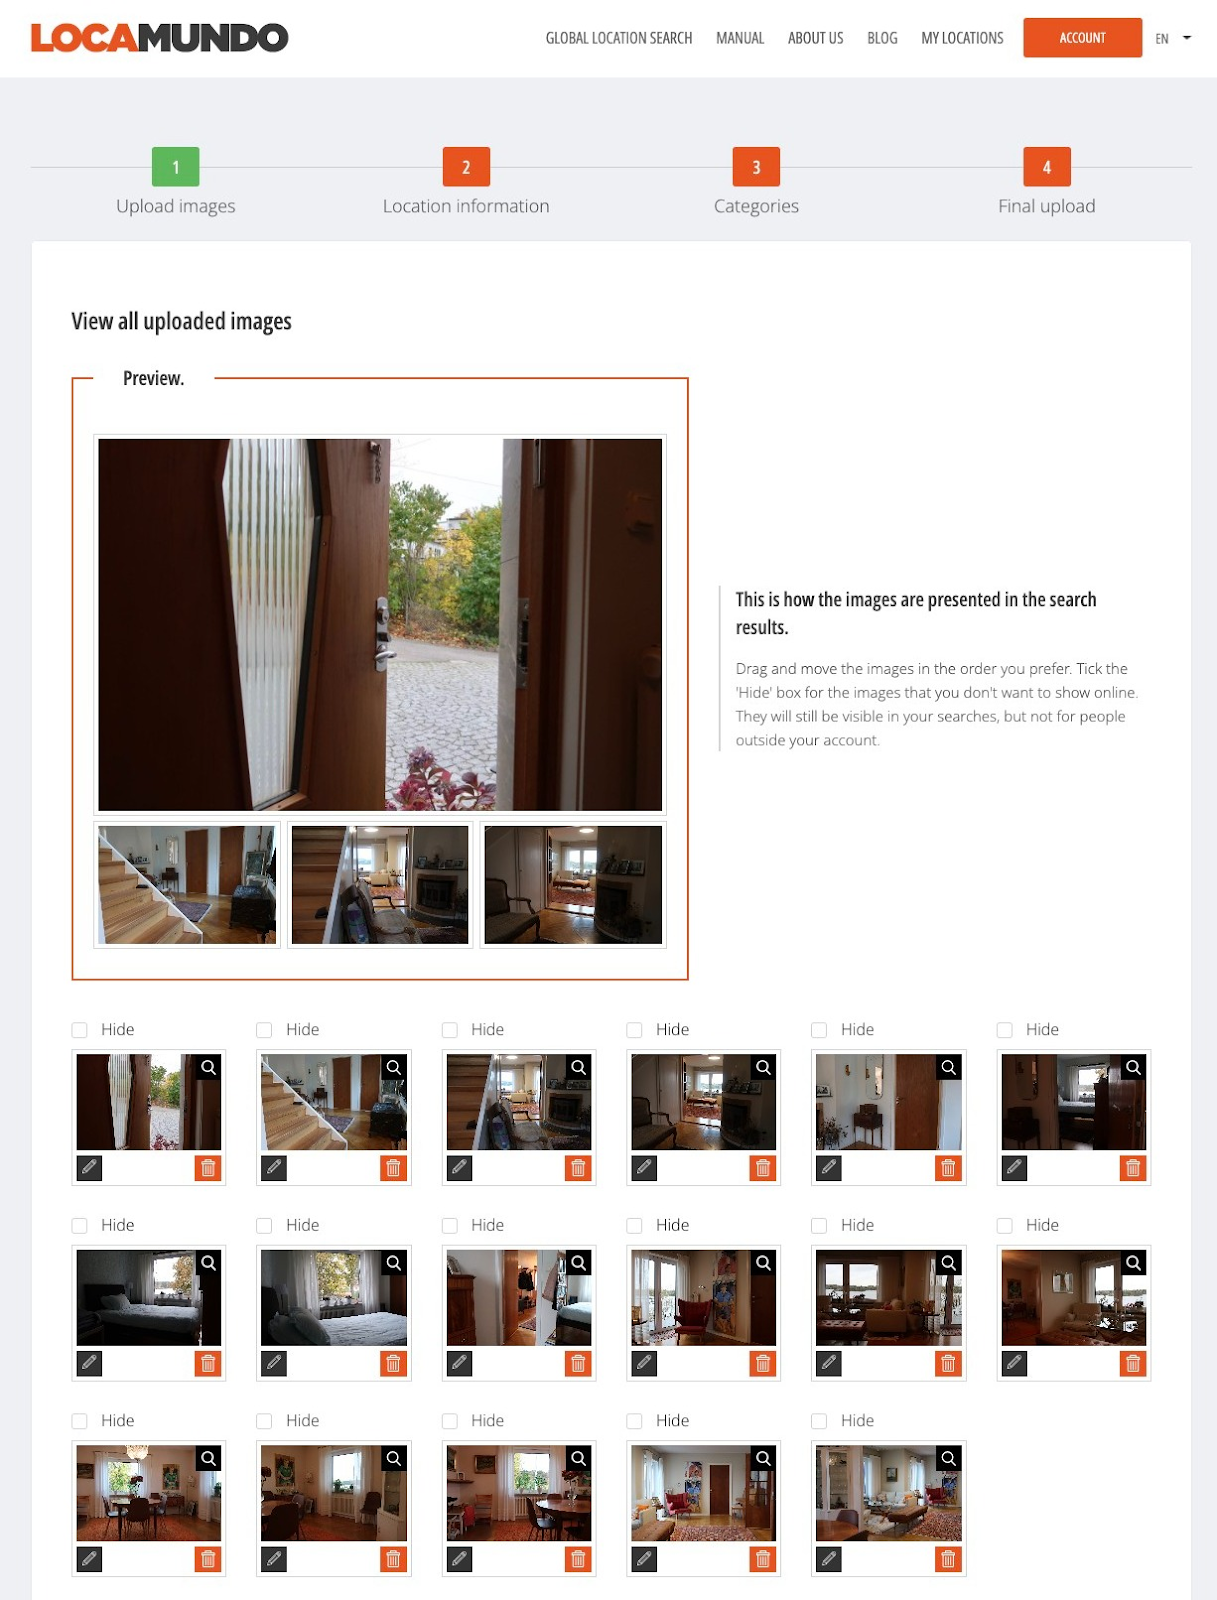
When your images have finished uploading, your screen may look like this.
The most important things to know are:
-
The previews is how the images will be shown in Locamundos search page.
-
The first four images make up the preview.
-
You can rearrange the images by dragging them to create a different preview.
Once you are satisfied, you can proceed to the next step.
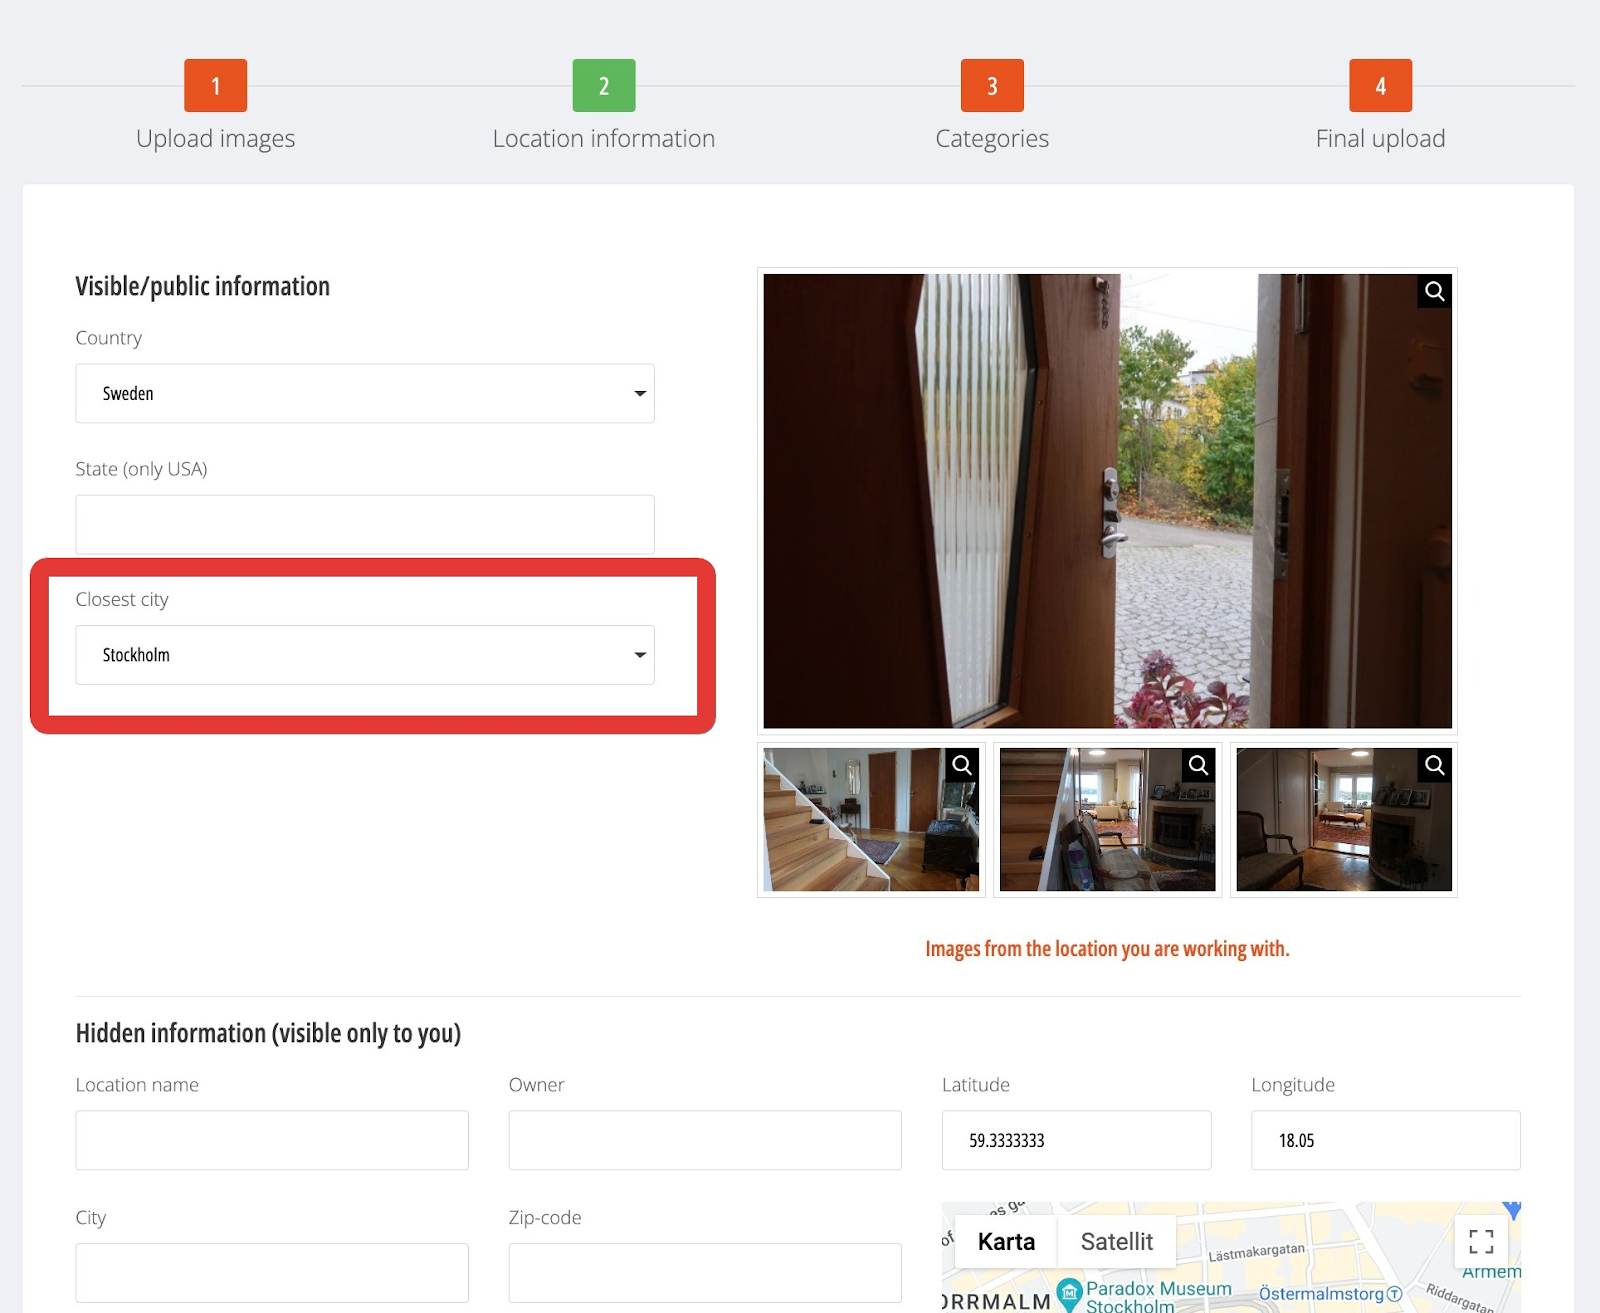
Step 2: Location information.
As an individual, you only need to fill in the "Closest city" field.
After that, you can proceed to step 3.
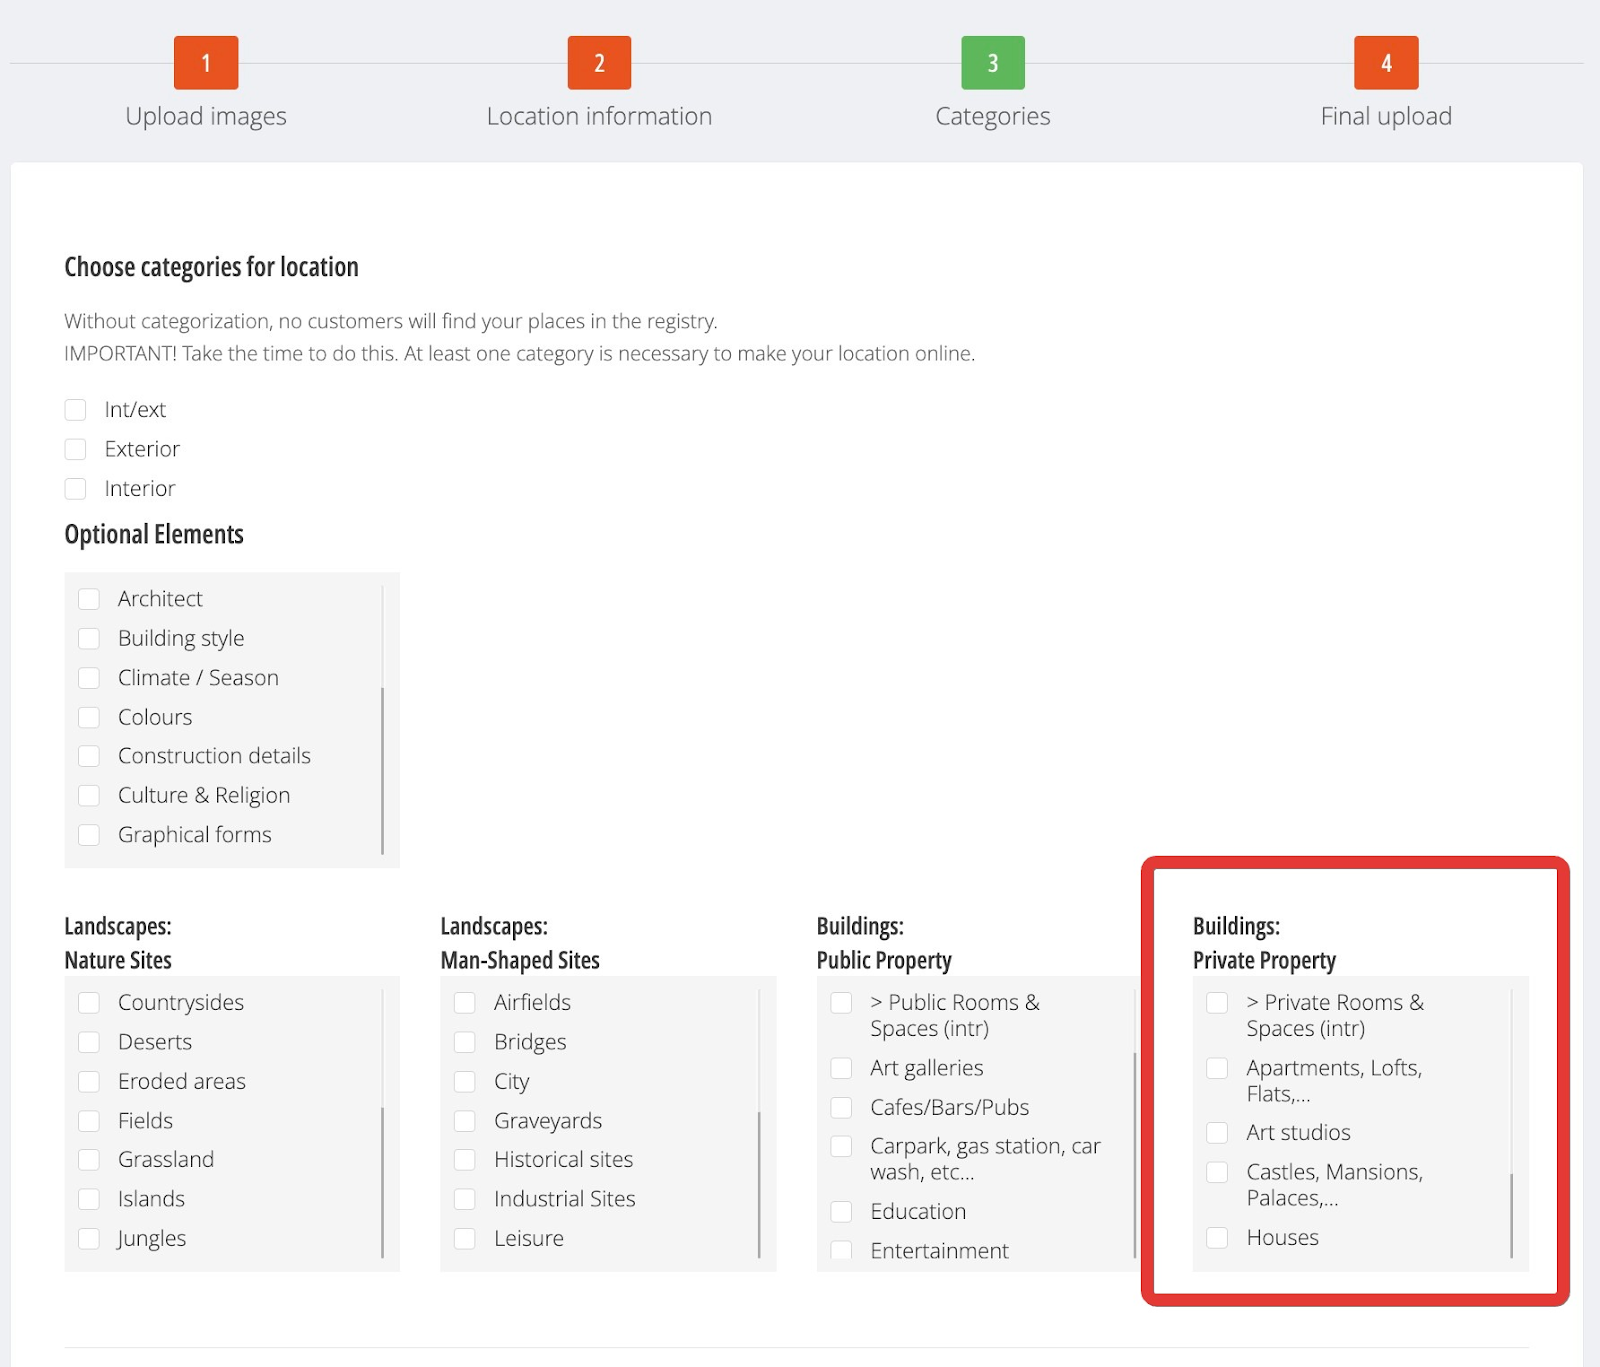
Step 3: Categorizing the location.
In order for those searching for a location to easily find your place, it needs to be categorized.
Here, you not only specify the category your place belongs to, but also what it could potentially be in a film.
For example: a grand and impressive villa could also be categorized as a manor.
As an individual, you usually only need to focus on the last group called "Buildings: Private Property."
If you click on any of the checkboxes, subheadings will appear. Also, take a look at the other headings if there is anything that fits. You can choose as many categories as necessary. Take your time with this step, as it is the most important part of the registration.
Afterward, proceed to step 4, which is the final step.
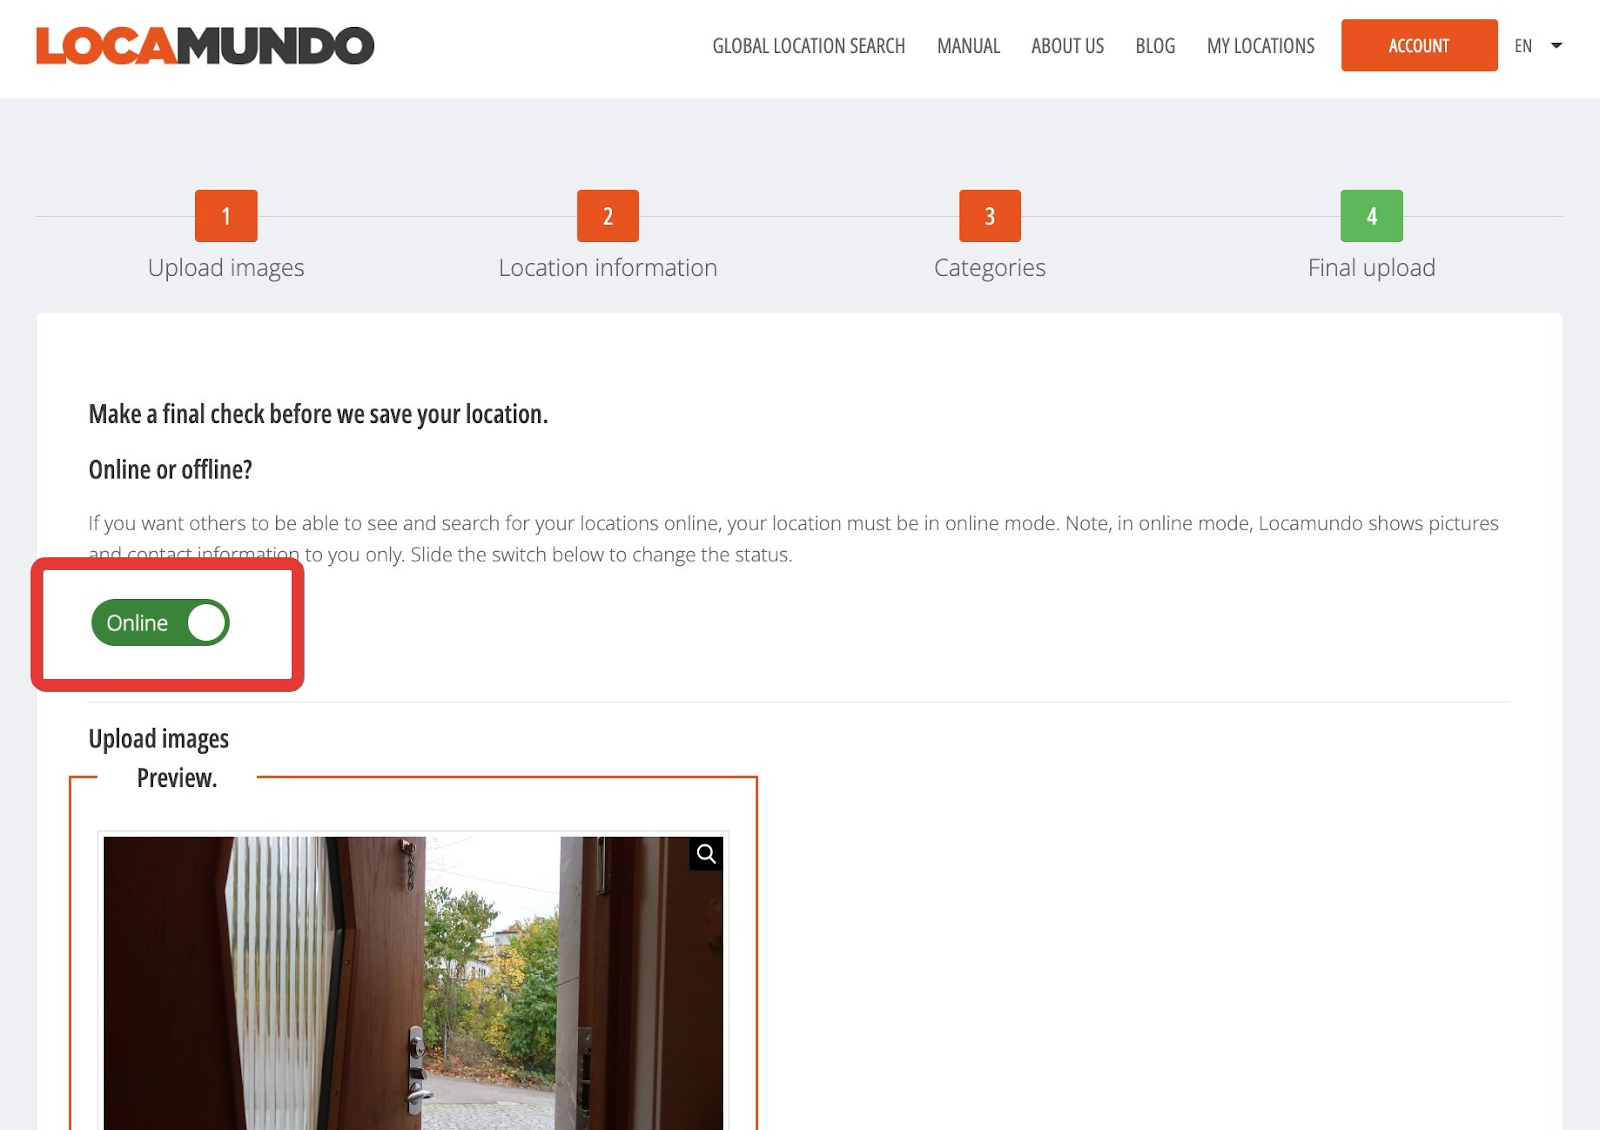
Step 4: Final Upload
The only thing left to do is to scroll up to the top of the page and switch the control to "Online".
Then, scroll down to the bottom of the page and click on "Finish & save".
Done!